I got the inspiration to take on this project from Pinterest (duh).
I learned to sew when I was about 15, and it’d been since that time that I’d sewn anything. But I decided to whip out the ole sewing machine and give it a try.
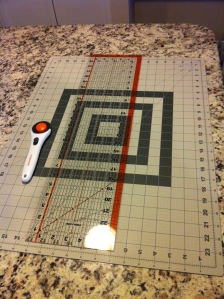
First, I had to go to Joann’s and get a rotary cutter, mat, and ruler. If you download their app they have a 50% off coupon, so it ended up being $30 instead of $60 for everything.
I got my fabrics from Hobby Lobby. They came in a little bundle of 5, so I got 2. The stockings would probably have been cuter if I’d selected each fabric myself, but this saved time and money. I also got some thin batting and fabric for the stocking cuffs and liner.
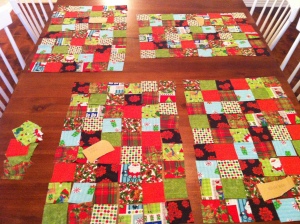
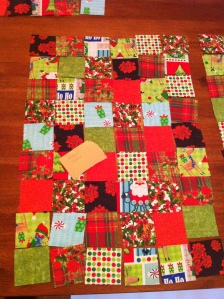
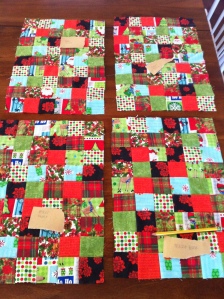
Next I cut out all my squares at 2.5 x 2.5. 54 per side, 108 in all. And set them out how I wanted them (with Mike’s help).
I kept a piece of paper on top to remind myself who was whose and if it was for the front or back.
Then I sewed the pieces together using this youtube tutorial to help me. The pressing of the seams is important!
Next I quilted each of these 4 pieces together with batting and liner at a diagonal. It was pretty easy to just follow the corners. I found that quilting every other line first (while alternating directions) and then going back to fill in the rest of the lines makes it come out a little flatter. I didn’t take a picture of this step, probably because at that point I was getting pretty tired.
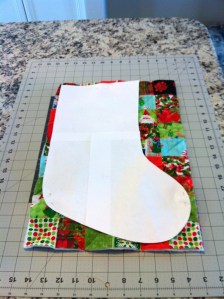
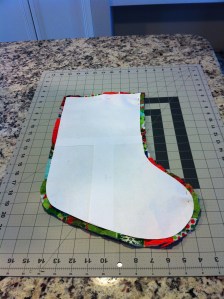
Then I laid my stocking pattern over the quilt, pinned it down so it stayed in place, and cut around it. I got my stocking pattern from here.
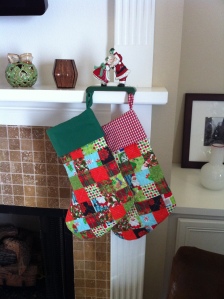
I used this youtube tutuorial to sew together the stockings and add the cuff and loops for hanging. My cuff pieces were 9 x 17 and my loop piece was 2.5 x 6.5.
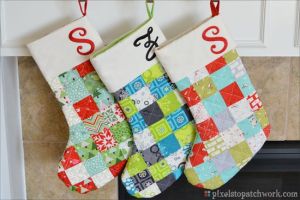
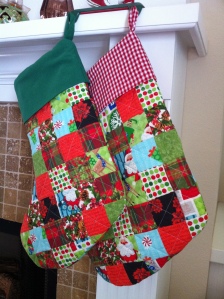
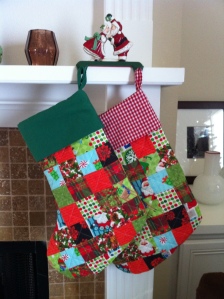
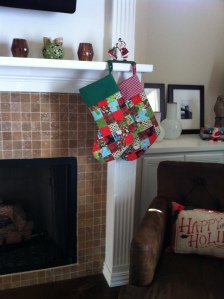
And finally I was finished! It was quite the project, but it was worth it.
Reblogged this on Quilting Antics and commented:
I love this blog post as it is such a simple idea and such a simple pattern to share. Thanks Sam for giving us all inspiration 🙂
Glad you enjoyed it and thanks for reblogging!
These are just really, really cool! Looks to simple till I would sit in front of a sewing machine—scary! Maybe I will try though as you make it look “easy”… Thanks!
Pingback: liebster award | fixed on the unseen